mirror of
https://github.com/gohugoio/hugoDocs.git
synced 2025-09-14 04:04:57 -04:00
3.8 KiB
3.8 KiB
| title | description | categories | keywords | aliases | |
|---|---|---|---|---|---|
| Host on Netlify | Host your site on Netlify. |
|
Use these instructions to enable continuous deployment from a GitHub repository. The same general steps apply if you are using Azure DevOps, Bitbucket, or GitLab for version control.
Prerequisites
Please complete the following tasks before continuing:
- Create a Netlify account
- Log in to your Netlify account
- Create a GitHub account
- Log in to your GitHub account
- Create a GitHub repository for your project
- Create a local Git repository for your project with a remote reference to your GitHub repository
- Create a Hugo site within your local Git repository and test it with the
hugo servercommand - Commit the changes to your local Git repository and push to your GitHub repository.
Procedure
- Step 1
- Create a
netlify.tomlfile in the root of your project.[build.environment] DART_SASS_VERSION = "1.92.1" GO_VERSION = "1.25.1" HUGO_VERSION = "0.150.0" NODE_VERSION = "22.18.0" TZ = "Europe/Oslo" [build] publish = "public" command = """\ git config core.quotepath false && \ hugo --gc --minify --baseURL "${URL}" """If your site requires Dart Sass to transpile Sass to CSS, set the
DART_SASS_VERSIONand include the Dart Sass installation in the build step.[build.environment] DART_SASS_VERSION = "1.92.1" GO_VERSION = "1.25.1" HUGO_VERSION = "0.150.0" NODE_VERSION = "22.18.0" TZ = "Europe/Oslo" [build] publish = "public" command = """\ curl -sLJO "https://github.com/sass/dart-sass/releases/download/${DART_SASS_VERSION}/dart-sass-${DART_SASS_VERSION}-linux-x64.tar.gz" && \ tar -C "${HOME}/.local" -xf "dart-sass-${DART_SASS_VERSION}-linux-x64.tar.gz" && \ rm "dart-sass-${DART_SASS_VERSION}-linux-x64.tar.gz" && \ export PATH="${HOME}/.local/dart-sass:${PATH}" && \ git config core.quotepath false && \ hugo --gc --minify --baseURL "${URL}" """ - Step 2
- Commit the changes to your local Git repository and push to your GitHub repository.
- Step 3
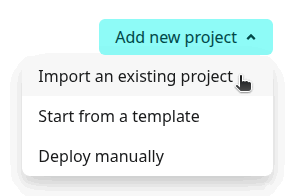
- In the upper right corner of the Netlify dashboard, press the Add new project button and select “Import an existing project".
- Step 4
- Connect to GitHub.

- Step 5
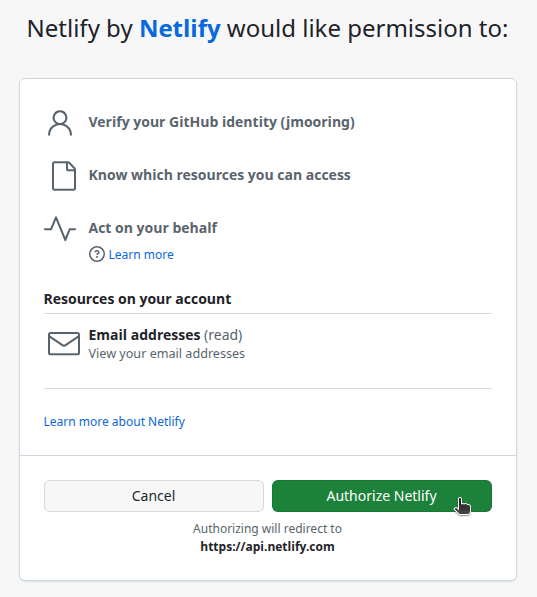
- Press the "Authorize Netlify" button to allow the Netlify application to access your GitHub account.
- Step 6
- Press the Configure Netlify on GitHub button.

- Step 7
- Select the GitHub account where you want to install the Netlify application.

- Step 8
- Authorize the Netlify application to access all repositories or only select repositories, then press the Install button.

Your browser will be redirected to the Netlify dashboard.
- Step 9
- Click on the name of the repository you wish to import.

- Step 10
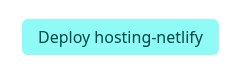
- On the "Review configuration" page, enter a project name, leave the settings at their default values, then press the Deploy button.

- Step 11
- When the deployment completes, click on the link to your published site.
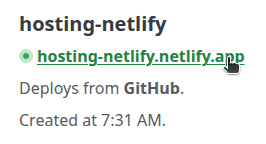
In the future, whenever you push a change from your local Git repository, Netlify will rebuild and deploy your site.